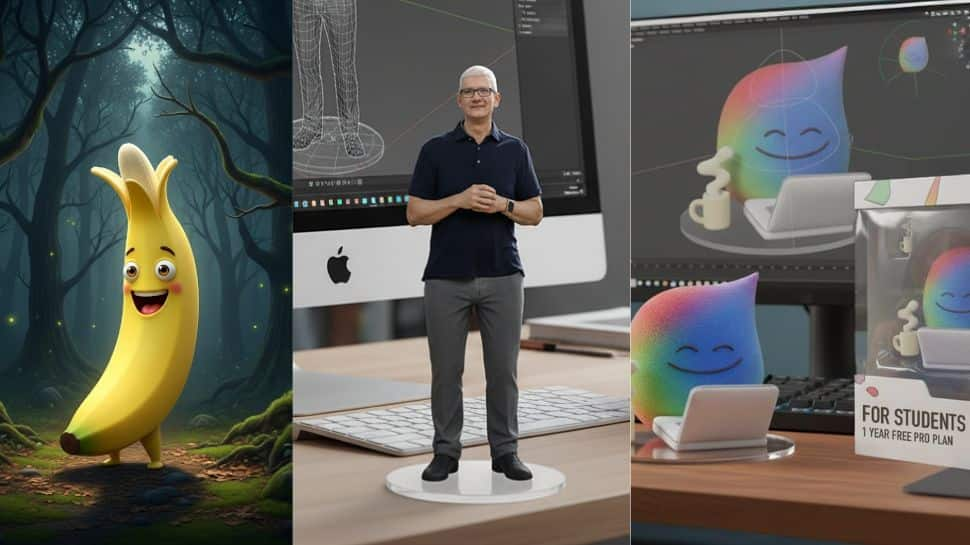
Under the hood, Nano Banana blends facial-landmark detection, pose estimation and neural rendering to infer depth and texture from flat images; the system then renders a toy-like object with polished surfaces, stylized lighting and an optional staged base. The model outputs are marked with an invisible SynthID watermark to indicate AI generation.
Why it catches on: speed and instinctive shareability. Users can upload a single portrait, add a short prompt (“turn into a collectible vinyl figurine in a display box”), and get a photoreal-but-toy result in seconds — a workflow that encourages rapid experimentation and sharing. That combination has helped the trend spread quickly across platforms.
Here are five practical tips that producers, editors and casual users say reliably lead to cleaner, more recognizable 3D figurines:
- Start with high-quality, well-lit photos.
Sharp, evenly lit front-facing photos give the model the clearest facial landmarks and skin texture to work with. Natural light or softbox-style lighting helps preserve details; avoid heavy shadows or blown-out highlights that can confuse depth estimates. - Use simple backgrounds and tight crops.
A neutral or blurred background reduces visual clutter so the model focuses on the subject. Crop to the chest or waist for full-body toy looks, or to the shoulders and head for bust-style figurines — tighter crops usually yield cleaner silhouettes and fewer background artifacts. - Be explicit in the prompt (style + small details).
Name the style (e.g., “collectible vinyl figurine,” “painted resin mini”), pose, and props you want. Include details like “acrylic display base,” “nameplate on the front,” or “soft matte finish” to guide texture and staging. Small prompt additions often make large visual differences. - Supply multiple reference angles when possible.
If the tool accepts more than one image, add a front and a three-quarter view. Additional angles help the model infer the subject’s true geometry and reduce odd artifacts around ears, hairlines and hands. When only one image is allowed, try generating multiple variants from slightly different crops or exposures and composite the best parts later. - Iterate and edit — then polish in post.
Treat generation as draft work: tweak prompts, remove accessories that obscure features (sunglasses, large hats), regenerate, and then touch up the best result in an image editor for stray pixels, inconsistent fingers, or awkward hair strands. Many creators combine a single Nano Banana render with small manual fixes to reach a collectible-ready finish.
Practical add-ons creators are using: custom toy-box packaging prompts for a retail look, lighting presets to match studio photos, and texturing notes (“hand-painted brush strokes”) for a handcrafted feel. Community-shared prompt lists and short how-to videos have sprung up across social platforms, accelerating the pace of discovery and refinement.
What to watch for: authenticity and ethics. As the output becomes more realistic and easy to produce, platforms and makers are paying attention to watermarking and provenance — Google’s SynthID watermark is an early example of automated provenance attached to AI images — and creators are balancing playful uses with respect for likeness rights and consent.
The Nano Banana trend is a vivid example of how small UX conveniences (fast edits, clear prompts) plus powerful underlying models can turn a niche capability into a mainstream creative tool almost overnight. For users chasing that perfect mini: invest in better source photos, be deliberate with prompts, iterate quickly, and be ready to do a little polish — the difference between “cute” and “collector-worthy” is often one good prompt and one careful edit away.


